Homegrown Wine: A Beginner's Guide to Grapes
Publish in Organic Gardening & Farming el 05/07/2025 02:26
Homegrown Wine: A Beginner's Guide to Grapes
Have you ever dreamed of crafting your own wine from grapes grown right in your backyard? It's a rewarding experience that connects you to the entire food cycle, from vine to bottle. While it takes time and effort, making wine at home is achievable for beginners. This guide will walk you through the essential steps, from harvesting to bottling your very own vintage!
Growing & Harvesting Grapes
The first step is, of course, growing grapes! Choose grape varieties suited to your climate and soil. Research what thrives in your region – some are better suited to cooler climates, while others prefer warmer ones. Proper pruning and care throughout the growing season are crucial for a successful harvest. Grapes are typically ready for harvest in late summer or early fall, depending on the variety. A key indicator is the sugar level, which can be measured with a refractometer. You're looking for a balance of sugar and acidity.
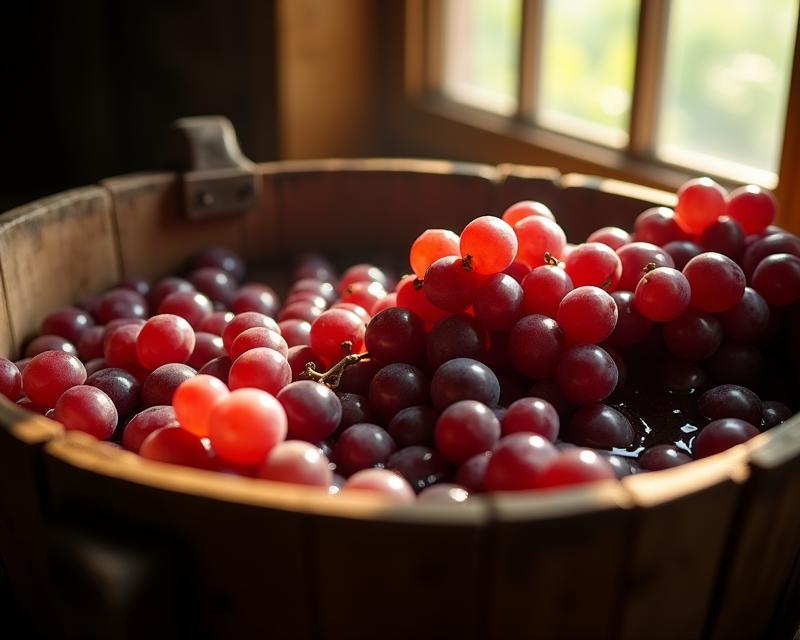
Crushing & Fermentation
Once the grapes are ripe, it's time to crush them! Traditionally, this was done by foot, but a simple grape crusher works just as well. The goal is to gently break the skins to release the juice. Next, you'll add yeast – specifically wine yeast – to initiate fermentation. This is where the magic happens! The yeast consumes the sugar in the grape juice and converts it into alcohol and carbon dioxide. Fermentation typically takes 7-21 days, and it's important to monitor the process using a hydrometer to track the sugar levels. Temperature control is key during fermentation; aim for a consistent temperature between 65-75°F (18-24°C).
Aging & Bottling
After fermentation, the wine needs time to age. This can be done in stainless steel tanks or oak barrels, depending on the desired flavor profile. Aging allows the flavors to mellow and develop complexity. The length of aging varies greatly – from a few months to several years. Finally, it's time to bottle! Use sanitized bottles and a bottling wand to minimize oxidation. Seal the bottles with corks or screw caps. Your homemade wine will benefit from further aging in the bottle, allowing the flavors to integrate and soften. Remember to keep your bottles on their side with a wine thief to sample your creation as it matures!
Important Considerations
Wine making requires attention to detail and sanitation. Always use food-grade equipment and thoroughly clean and sanitize everything that comes into contact with the juice. Start small – a small batch is a great way to learn the process without a huge investment. There are many excellent resources available online and at your local agricultural extension office to help you along the way. Enjoy the journey of creating your own unique vintage!